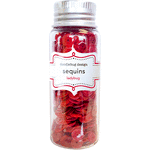
I took my inspiration from a cherry sequined top my daughter is wearing and die-cut just the cherry portion from the background of my page using THIS cutting file. I then cut a generous piece of red cardstock an inch or two larger than the cherries. I covered the entire piece of cardstock with adhesive using my ATG gun and added rows of Doodlebug's ladybug sequins, leaving the outside edge without sequins so I could adhered it to the back of my page.
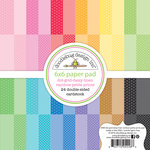
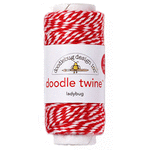
When I was done, I added the remaining die-cut pieces cut using Doodlebug's Petite Prints papers and stitched around the outside edges with green and red baker's twine.
To create my title I first printed it out in Microsoft Word using the Clicker Script font. I then used some washi tape to temporarily adhere it to my layout and "traced" around it using my paper-piercer to form my stitching holes.
Here's a finished look at my title using Doodlebug's solid white baker's twine. I learned as I went that it helps to make the spacing between your holes a little larger and deeper to keep the thread from getting stuck and to keep the paper from tearing. If my paper ever tore, I simply added some packing tape to the back and re-stitched that spot. ;)
Thanks so much for visiting the blog today. I hope I've inspired you to try some hand-stitching on your own projects. It's seriously addicting!

Interested in the products I used to create my projects today? To make supplies easier for you to find, I have listed them below (affiliate links included).
Supplies Used (available at Scrapbook.com)






Such an adorable layout! I love stitching on my layouts but have never used baker's twine, but will give that a try! Also love the sequined cherries ... such a cute idea!
ReplyDeleteThank you Judy! Your sweet comment means so much. :)
DeleteSuch a darling layout! Love it...and I still love Doodlebug too!
ReplyDeleteThank you Rhonda. I really appreciate you taking the time to leave a sweet comment. :)
Delete