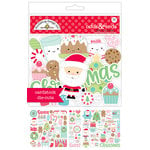
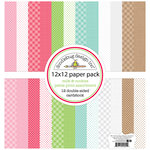
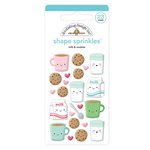
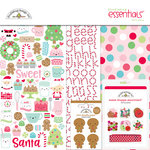
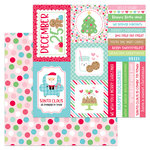
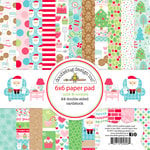
Hello there! I'm popping in today with a fun layout mixing a variety of cut files and cute embellishments from the darling Milk and Cookies collection.
I was so happy when I stumbled across these photos of my daughter getting ready for Santa a few year's back because they are a perfect compliment to these adorable papers! I started by opening up each of the cut files in my Silhouette software and then setting my screen to view them at 100%. I then could hold up my various die-cuts and stickers to decide on sizing and see how everything would fit together.
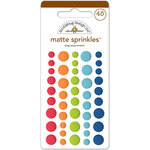
When all my pieces were cut and assembled, I added touches of stitching using my sewing machine and embellished my scene with various sprinkles to help the scene come alive! As a final finishing touch, I paired the Christmas word die-cut from the odds & ends pack with the Love Letter alphabet stickers to complete my title. I just love how it all came together and the over-sized 12x12 clipboard is the perfect frame to display my finished work of art.
To create my scene today, I used the following cut files:
- Milk & Cookies Fireplace- available HERE or HERE
- Milk & Cookies Santa In Chair- available HERE or HERE
- Milk & Cookies Tree- available HERE
I hope I've inspired you to mix some cut files with your other embellishments on a future project. It's seriously so much fun! ;)
Make sure to swing by the Doodlebug blog this month to see more great ideas for Holiday gifts. I've seen sneak peeks and my fellow teammates have dreamed up some darling ideas.
 Interested in the products I used to create my projects today? To make supplies easier for you to find, I have listed them below (affiliate links included).
Supplies Used (available at Scrapbook.com)
Interested in the products I used to create my projects today? To make supplies easier for you to find, I have listed them below (affiliate links included).
Supplies Used (available at Scrapbook.com)
Hi there! I'm popping in today with a couple happy holiday layouts using Doodlebug's adorable Milk & Cookies collection.
I went bright and airy for my first layout, using many of the candy embellishments from the collection. I thought it would be fun to substitute a few of the polka-dots in my paper for peppermints. To help them stand out, I popped them up with foam dots and then layered them with the coordinating epoxy sprinkles from the collection.
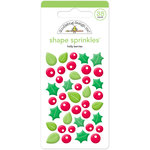
I repeated the idea of layering, taking the holly berry sprinkles and layering them over my patterned paper border.
These photos of my daughter were taken on our sofa so I couldn't resist sneaking in my favorite image from the collection with the little Santa in the big overstuffed chair. It makes me smile every time I see it. ;)
For my gumdrop border I layered the clear acrylic gumdrops from the Odds & Ends pack with the gumdrops from the Icon Sticker sheet. Love how the two look when mixed together!
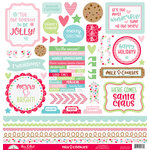
To create my title I turned to the new Abigail alphabet stickers to spell out the word "favorite" and paired them with a word sticker from the This & That sticker sheet. Since it was a bit tiny, I helped it stand out by mounting it on a banner and a little heart sprinkle. Love how it all came together!
For my second layout today I couldn't resist using all the adorable gingerbread men from the collection to document our annual tradition of making a cookie house that my husband brings back from Japan each year.
I dressed up my gingerbread men using some of the tiny heart sprinkles found in the Milk & Cookies sprinkle set and paired the "sweet" word from the icon stickers with the word "tradition" spelled out with more of the cute Abigail alphabet stickers.
To give my page a little color and an extra touch of sweetness, I create a patchwork scalloped border (using THIS die). You could also achieve similar results by cutting apart a scalloped border from different prints and piecing it back together. When I had it adhered to my page, I added a zig-zag stitch between each piece to continue the fun homespun feel.
I hope I've inspired you to pull out that box of Christmas photos from years past and document some of your sweet holiday memories. Make sure to check out the Doodlebug blog for some super cute ideas from the rest of the team using the Milk & Cookies collection.
Interested in the products I used to create my projects today? To make supplies easier for you to find, I have listed them below (affiliate links included).
Supplies Used (available at Scrapbook.com)
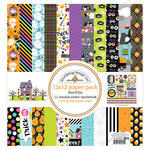
Hello there! I'm on the Doodlebug blog today with three fun layouts using Doodlebug's newest collection for Halloween called Booville! Every year I fall more head over heals in love with the latest Halloween line and this year is no different. I was so excited by the addition of the color pink that I couldn't resist scrapbooking several pages using photos I've been holding onto for years.
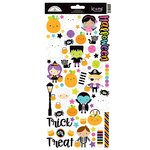
For my first page I isolated the purple, green and aqua papers from the collection to match these photos of my oldest daughter. She dressed up as a classic comic book character so I created a simple grid design to ground my focal point images and cute stickers.
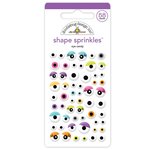
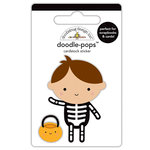
This collection includes some super cute eye sprinkles which look cute all on their own, but even cuter when layered over critter stickers and doodle pops like I did for the little bat and frog.
For my next layout, I kept things simple. Sometimes I have some pages where it's more about getting my pictures into albums for us to enjoy and not spending endless hours on my embellishments. This was the case with these, but thanks to all the adorable papers and die-cuts in the collection my page can still be cute.
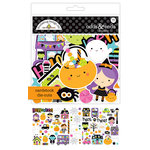
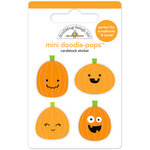
For my little patch of pumpkins I mixed the die-cuts from the odds and ends pack with two doodle pop pumpkins. A custom title with the new Abigail alphabet stickers completed my page.
For my last page I was inspired by all the houses dressed up for Halloween in the border along the top of my layout. I recreated the scene on a larger scale on the bottom of my page using the cute die-cut houses from the odds & ends pack.
I typed up my journaling on my computer and printed it out on vellum so that it could be fairly invisible on my page. I then layered it with the cute trick or treating boy and girl and hand stitched a simple line to hang my spider sprinkle from.
All of these pages came together super quick and could be easily recreated in an evening. I hope I've inspired you to pick up this adorable collection and get some of your favorite Halloween memories recorded too. Thanks so much for stopping by today.
Interested in the products I used to create my projects today? To make supplies easier for you to find, I have listed them below (affiliate links included).
Supplies Used (available at Scrapbook.com)