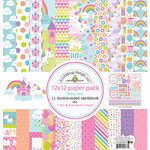
I bought these 12" high wood monogram letters at my local craft store just over five years ago when we moved to a new home, but sadly the project kept getting pushed to the back burner. I decided it was time to finally decorate them for my daughter before she's too old to enjoy them or leaves home. ;)
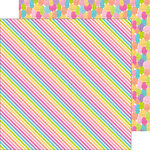
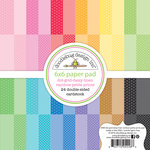
For all of my letters, I started by tracing them face down onto the backside of the papers I wanted to use. I then fussy cut them out and stitched around the edge of each of them before adhering them to the wood piece with liquid adhesive.
I wanted to have each letter be embellished in a unique way, but have them come together in one cohesive project. For the letter "A" I pulled out bits of ribbon from my stash and wrapped the pieces around to the back of my paper cutout before adhering them to the wood.
Three simple, yet completely adorable flower buttons dress up my letter "Y".
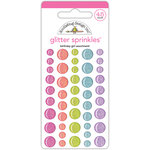
For my "L" I die-cut 4 diamonds from my favorite petite prints and stitched around them before adhering them to my piece to form an argyle print. I then used some of the adorable sprinkles from the collection to embellish them.
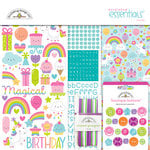
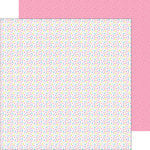
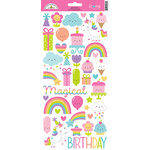
For my letter "E" I used a swiss dot print with some of the darling icon sticker balloons and the unicorn from the odds & ends pack. Before adhering the letter to the wood, I poked holes on either side of the balloons and stitched around them using an embroidery needle to give the appearance the baker twine strings are tied on.
I kept my last letter fairly simple since the print had a lot going on visually. I added some random glitter sprinkles from the collection to give the polka-dots extra interest. I love the way they look!
This collection makes this 80's girl with her rainbow heart skip a beat! I hope I've inspired you to use some of your favorite Doodlebug papers for a home decor project too!

Interested in the products I used to create my projects today? To make supplies easier for you to find, I have listed them below (affiliate links included).
Supplies Used (available at Scrapbook.com)


