I'm sharing a fun idea on the Doodlebug blog today. For this project we were challenged to create a project inspired by a quote found on Pinterest.
I actually went looking for this particular quote to go with these fun photos I snapped of my daughter and I ended up being so inspired by the overall look of THIS PIN that I used it as the inspiration for my entire layout.
One of the things I liked best about the layout of the quote was how the words were perfectly spaced so I created a free cut file to share with all you today so you can create a layout of your own.
Download SVG file HERE
Download Silhouette file HERE
Want to know how I got my letters so straight? I used the negative space from my die-cut to help me adhere them. Using a little washi tape to hold my strip in place, I started by testing the first and last letters in the line. Once I had made sure they were positioned in the center of the line, I knew all the other pieces would line up perfectly and I set to work adhering them with a Zig glue pen.
It always feels magical lifting up the strip for the full reveal!
Thanks so much for stopping by. I hope I've inspired you to look at some of the word art around you with a fresh eye.

Interested in the products I used to create my projects today? To make supplies easier for you to find, I have listed them below (affiliate links included).
Supplies Used (available at Scrapbook.com)
So sorry for the repeat. I had to take down this blog post temporarily due to the cut file release date being delayed over in the Silhouette store. ;)
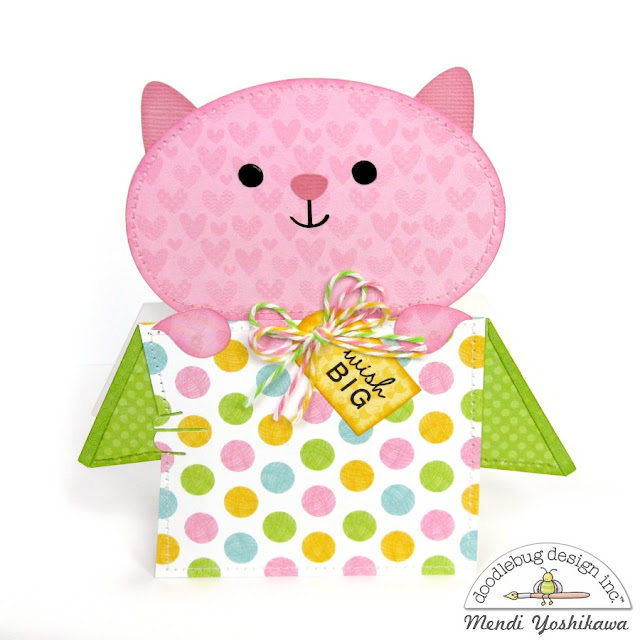
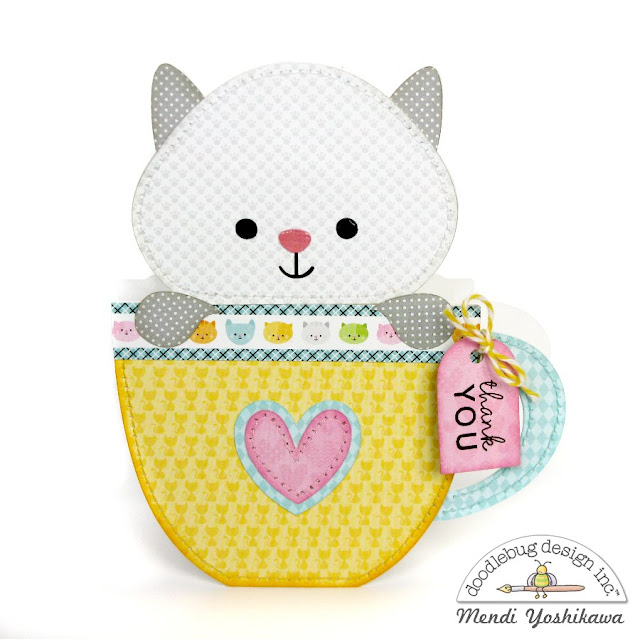
They are finally available (yay!) and I'm happy to be on the Doodlebug Blog today with a trio of shaped card using the newest Kitten Smitten cutting files available in the Silhouette store (along with the coordinating papers from the Kitten Smitten 6x6 paper pad).
To create my cards I sized them to fit within an 4.25" x 5.5" A2 sized envelope making none of the dimensions exceeded that size. I then cut two of the bases, scoring the back one along the top (parallel to the base) and adhered the two pieces together along the top.
It was so much fun personalizing my little kitties using different papers from the collection, inking and stitching around some of the kitties to help give them a little extra definition.
When I was done I stamped simple sentiments for each card using a small tag die I had on hand and tied on bows with coordinating colors of bakers twine. I also added a bit of glossy accents to the eyes and noses to help bring them to life.
I hope I've inspired you to take a closer look at the newest Doodlebug cutting files in the Silhouette store and at Lori Whitlock's shop. They have so many adorable ones!

Interested in the products I used to create my projects today? To make supplies easier for you to find, I have listed them below (affiliate links included).
Supplies Used (available at Scrapbook.com)
Can you hardly believe it?! Two different projects in one week! I'm sharing a second project over on the Doodlebug blog today. This time I have some quick and easy ideas for Holiday gift tags using Doodlebug's adorable Here Comes Santa Claus collection.
First is a set of gift tags using a die by Papertrey Ink and some cute icon stickers and embellishments from the collection. I love creating some extra special tags for my Mom and Sisters each year.
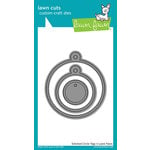
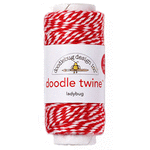
For my second set of tags I created some simple hanging tags using a circle tag die by Lawn Fawn and some Doodle twine. I kept these really simple to make mass production a breeze. I embellished one side by punching circles from a piece of patterned paper found in the 6x6 pad from the collection. On the back, I punched another circle from white cardstock and added my "to" and "from".
My last set of tags is probably the most simple of the bunch, but they are the ones I will reach for the most. I die-cut the circle tag from a number of different patterned papers and another basic circle from white cardstock. I then stamped a simple "to" and "from" before adding a little bow with liquid adhesive.
When I was done, I went through and added score tape to the back of each tag so when I'm wrapping gifts I can just peel and stick. Love that I was able to create all my tags for the season in an evening.
I hope I've inspired you in your holiday crafting. Why not invite some girlfriends over, put on some Christmas music and have a fun evening of making holiday tags together?

Interested in the products I used to create my projects today? To make supplies easier for you to find, I have listed them below (affiliate links included).
Supplies Used (available at Scrapbook.com)


