

Hello and welcome to Lori Whitlock's March blog hop! You should be arriving here from Corri's blog or if you're just joining us you can start from the beginning at Lori's blog. :)
Today I thought I would share with you a couple different interactive cards which center around penny sliders! My first card uses Lori's Penny Slider Card Circle cutting file. I was able to hide the strip that holds the two circles together with a cloud die-cut and use the cute kite embellishment to circle around the card. Really easy and super fun!

My second card uses Lori's We Are Family collection which she designed for Echo Park along with her Penny Slider Card Pinwheel. I altered this template to have a separate strip in the middle to separate my street, grass and sky and then paired it Lori's cloud and car cutting files.
I found the perfect sentiment using a retired stamp set from Technique Tuesday's Happyville collection. This card is so much fun--As you tilt it to one side to another, the car does little wheelies and flips!

To create my cards I used the following cut files available in Lori's shop:
This week you can get 30% off all her and Kolette Hall's amazing cutting files and fonts using the code "March" through March 15, 2015. :)

Never fear digital fans, there is also a one-day sale over at Snap.Click.Supply using the code "LWMAR15HOP". :)

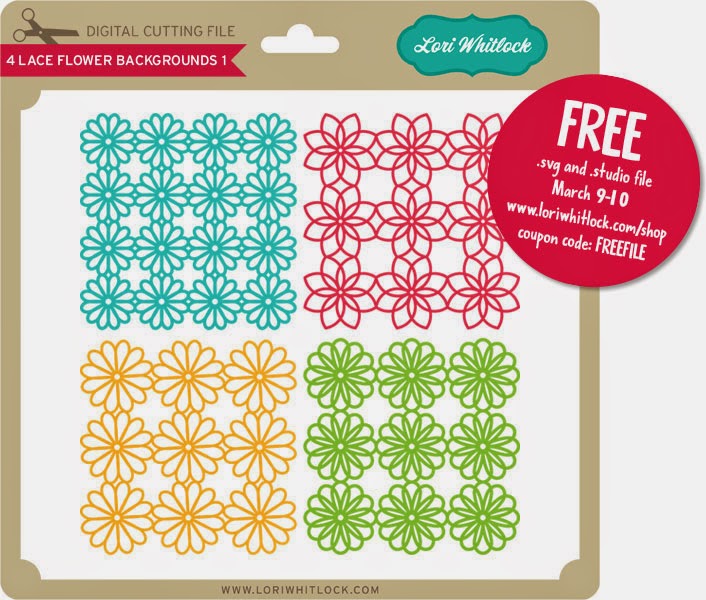
She also is giving everyone a set of free cutting files at her shop using the code "FREEFILE" at checkout.
If that weren't enough head over to her blog for a chance to win a $20 gift card. :)

a Rafflecopter giveaway
Make sure to check out all the inspiring projects at my fellow teammates blogs & leave comments for more chances to win. Your next stop in the hop is Traci's Blog. :)
Paper Team:
- Lori Whitlock
- Corri Garza
- Mendi Yoshikawa (you are here)
- Traci Penrod
- Kathy Skou
- Cathy Harper
- Tya Smith
Thanks so much for stopping by. :)

Other Supplies (available at Simon Says Stamp)
- Lawn Fawn FLYING BY Clear Stamps
- Hero Arts White Embossing Powder
- Doodlebug Spring Assortment Sprinkles
- Doodlebug Springtime 6 x 6 Paper Pad
- Doodlebug Bumblebee Doodle Twine
- Technique Tuesday Clear Stamps WHEELIE HAPPYVILLE
- Technique Tuesday Clear Stamps CARS HAPPYVILLE
- Echo Park WE ARE FAMILY 6 x 6 Paper Pad
- Echo Park WE ARE FAMILY 12 x 12 Collection Kit
- Silhouette CAMEO Digital Cutting Machine
- Silhouette PORTRAIT Digital Cutting Machine
Other Supplies Used (available at Scrapbook.com)





