I don't know about you, but I LOVE to add touches of hand stitching on my projects! I adore the homemade look it gives my cards and layouts! Well, I have been brainstorming for awhile now trying to figure out the easiest way to do this on the Silhouette and I think I finally found a way that is both quick and easy. Best of all I love that it allows me to execute hand-stitching with perfectly spaced stitches every time! And better yet it doesn't require extra money to buy and store special stitching templates--I have everything I need just using a few of my favorite cutting files of Lori's.

One thing I forgot to point out in my tutorial is that when you do create a stitching template, it's very important to size your shape to the size you want it before adding your holes. If you decide to shrink it down or enlarge it later, it will affect the size of your stitching holes and you may not get the same results.

To illustrate how I created my stitching template I created a video tutorial. If you'd like to skip the preparation for the rest of the card and to go straight to the stitching template tutorial portion, fast forward to the 5:50 mark. ;)
To create my card today I used the following cutting files available for purchase at Lori's shop and also in the Silhouette Store:
- 4 Easter Set (butterfly)
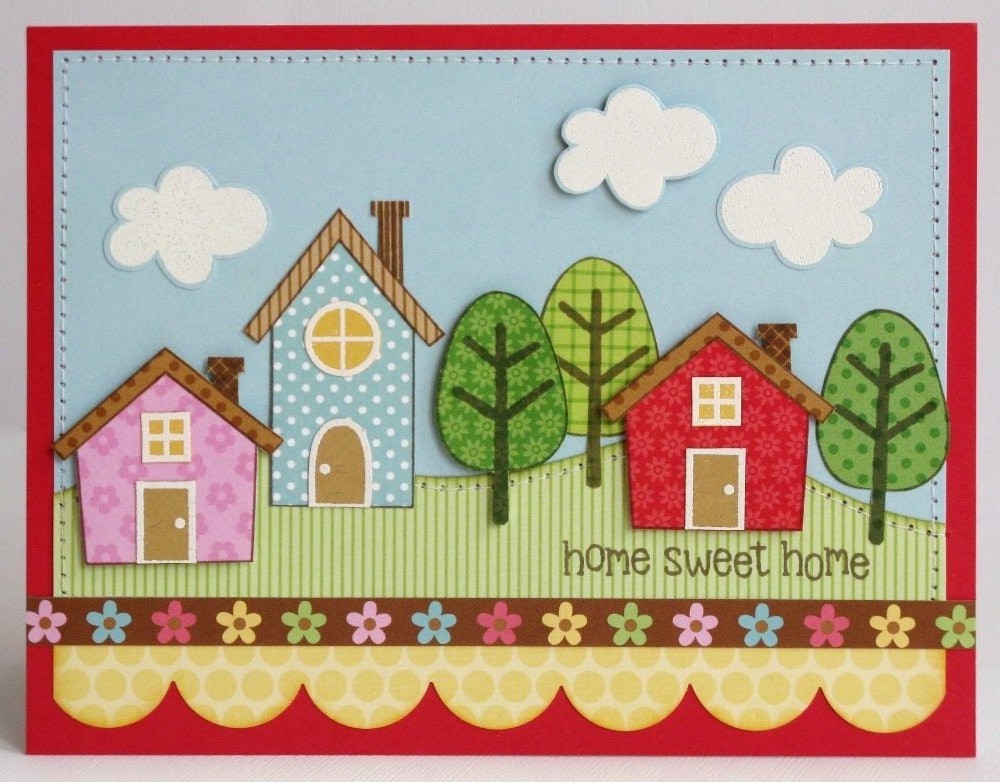
- Spring Borders (grass)
- Hot Air Balloon Card (clouds)
- 8.5x11 Backgrounds Shapes (Silhouette Store only)
- 3 Flowers (Silhouette Store only)
Thanks so much for stopping by! I hope I've inspired you to give hand-stitching a try using this fun technique. :)